"REDEEMED CC"

Rudder and bottom paint

Home
Nesting Dinghy
Launch
Gel-Coat in process
Rudder and bottom paint
Cabin Repair
Thrust/Re-generation nozzle
Nozzle Installation
Building the Thrust Nozzle
Hull Repair II
Hull Repair III
Making the Drive
Mounting the Etek
Drive installation
Hull Repair
Sucking the Hull
Rudder Removal
Out on Hard ground
Electric Kayak tests
A New Dock for Redeemed
New Experiments
More work in Process
Electric Kayak
Work in Process
pulling the Gray Marine
At the Dock in Hudson
This is why I love to Sail

rudderfix4.JPG

rudderfix3.JPG

The rudder had no water intrusion, I was surprised because the seam was seperated.  After making the new cutout for the nozzle the exposed solid resin was coated with 3 layers of cloth, (2) 6 oz. and (1) 17 oz Bi-Axiel

rudderfix2.JPG

rudderfix1.JPG

After grinding out the split to get as much new resin down the crack we're almost ready to glass things up and seal this brand new "OLD" rudder

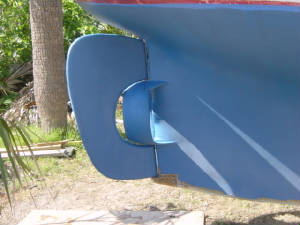
With 3 coats of epoxy as a barrier coat we are ready for the paint, man I thought this day would never come............chuckle

bottompaint004.JPG

bottompaint011.JPG

bottompaint010.JPG

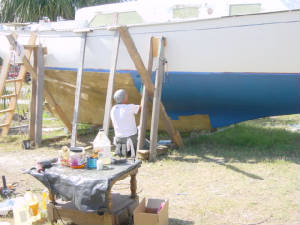
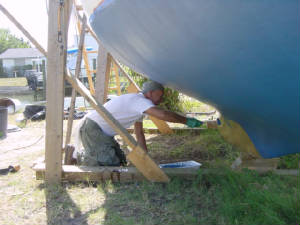
We painted one side at a time, the reason was that we wanted the last coat of epoxy barrier to be tacky and bond with the paint, it's like shaking hands with someone and not letting go...............the paint and the epoxy barrier are one..............

bottompaint003.JPG

I had to sit down and take a look at her, proud of what's been done, but still a long way to go.........one step at a time....

Enter images and other content here

Enter supporting content here

.