"REDEEMED CC"
Building the Thrust Nozzle
Home
Nesting Dinghy
Launch
Gel-Coat in process
Rudder and bottom paint
Cabin Repair
Thrust/Re-generation nozzle
Nozzle Installation
Building the Thrust Nozzle
Hull Repair II
Hull Repair III
Making the Drive
Mounting the Etek
Drive installation
Hull Repair
Sucking the Hull
Rudder Removal
Out on Hard ground
Electric Kayak tests
A New Dock for Redeemed
New Experiments
More work in Process
Electric Kayak
Work in Process
pulling the Gray Marine
At the Dock in Hudson
This is why I love to Sail

Fixturing and method are of prime concern, had to do some thinking about how to build the boost in both effecient thrust and more effective re-generation from the 3 blade 14/11 prop being used...

nozzlefixture002.JPG

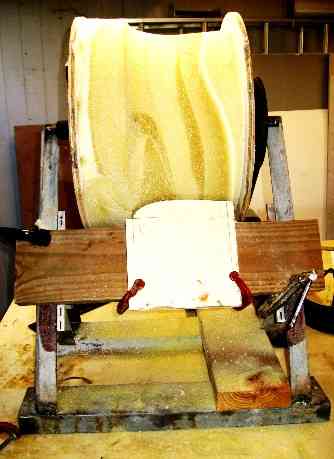
Being round (the Nozzle) and configured like an ole barrel with a specific airfoil on the inside diameter and outside 
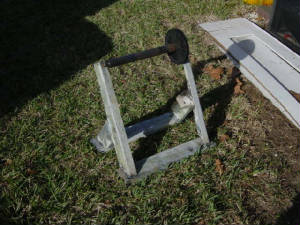
it is necessary to have a rotary device, if you happen to have a 20 inch lathe, you have no problem, I don't, so had to make from scrap parts laying around Doc John's dungeon.....good place to scrounge....thanks Doc

nozzlefixture3.jpg

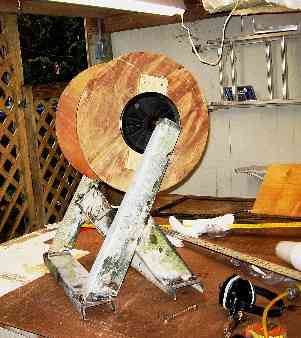
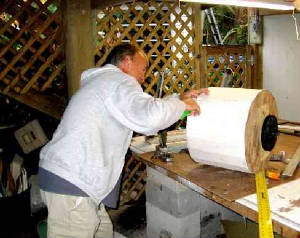
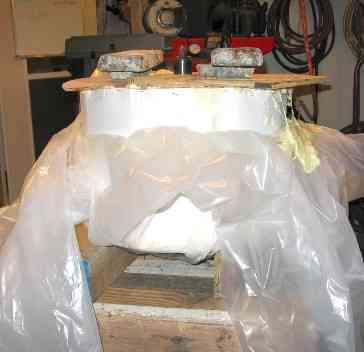
Building a drum that will be filled with 8 lb. foam and then shaped to form the inside diameter of the nozzle.

nozzlefixture4.jpg

We add a cardboard inclosure around the drum to hold in the foam as it expands.

More to follow

nozzlefixture5.jpg

The mixed 2 part foam is then poured in the mold to form the backing for the shape form of the inside of the nozzle.  The nozzle inside diameter and form as well as the correct projection will be machined into the foam.  When the epoxy and fabric is wound around the drum the outside form will have to be machined next.

carving2.jpg

More Photo's to come

checkingpattern.jpg

.