|
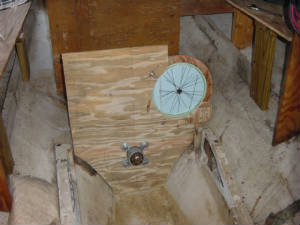
I went through 4 different patterns to get everything just the way it should be, don't skimp on patterns, it will mean that
you could have problems later.........
|
 |
|
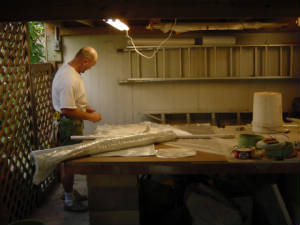
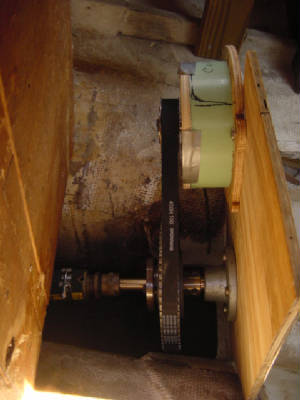
Now that the patterns are fitted and we know things work, Dr. John Burns my friend the epoxy and glass "King"
can work on the finished mounts. John has a wonderful dungeon workshop in the lower level of his home.
The finished product will be a strong, sandwiched, layered glass product that will hold the Eteks in alignment with the main
shaft. Thanks Doc, I'll give you a quiet "electric" ride when we get her all done.
|
|
|
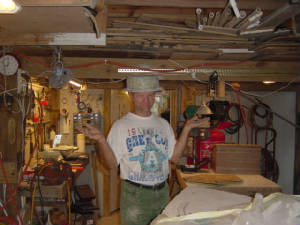
Every project has to have some fun, Dr. John calls this the top hat..........chuckle.........I think
a James Bond movie had a Korean guy that had a hat like this that would cut through about anything........chuckle
Enter images and other content here
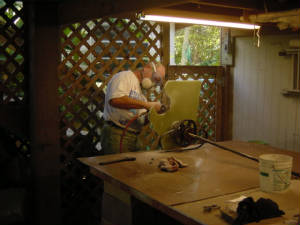
The nice thing about Epoxy and Glass is that it is easily formed, here Dr. John is grinding away
some excess to allow the motor to be rotated and the cogged belt tightened...
|
|
|
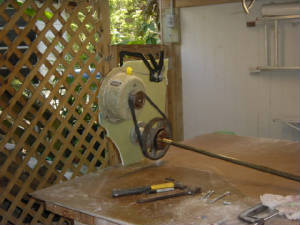
It was a good morning, lots done and now we see if it fits...........
More to come, tomorrow a new show, "As the Prop Turns"
|
|